Chapters
- 1What is EmbroideryTrace?
- 2Create an account
- 3Sign in
- 4Upload your image
- 5Separate colours
- 6Use Trace
- 7Meet the Stitch Editor
- 8Choose a stitch type
- 9Set satin
- 10Edit shapes
- 11Save and reopen your design
- 12Pick your hoop
- 13Preview your design
- 14Export and stitch on your machine
- 15Free Plan and Pro
- 16Credits
- 17If something looks wrong
- 18FAQ
- 19Get help
Before you download a file, choose a hoop size that matches your machine. Click Export Stitch to open the Export Embroidery dialog.
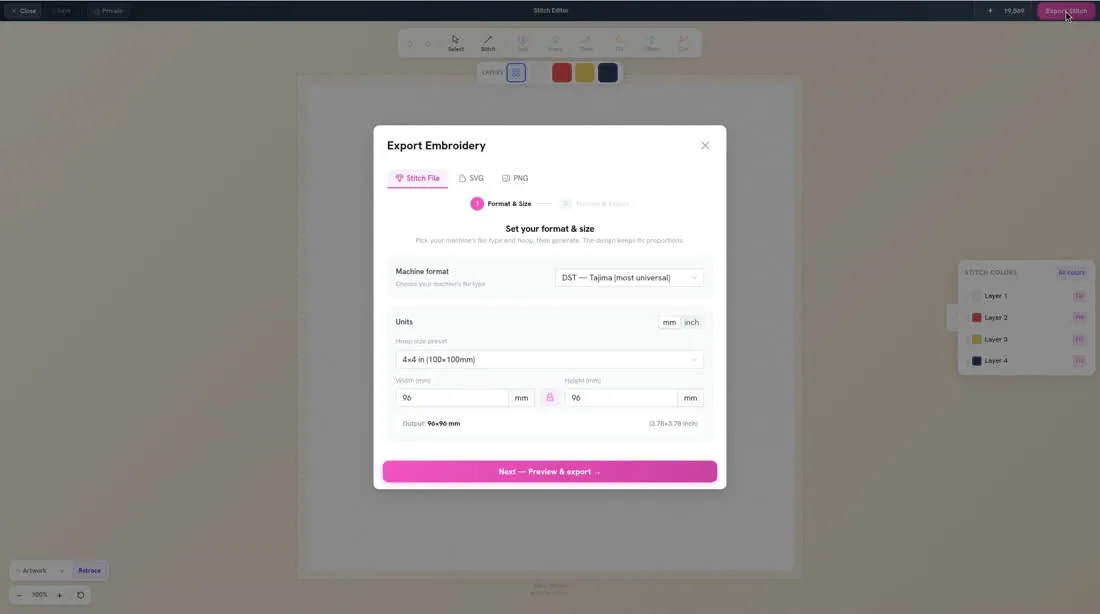
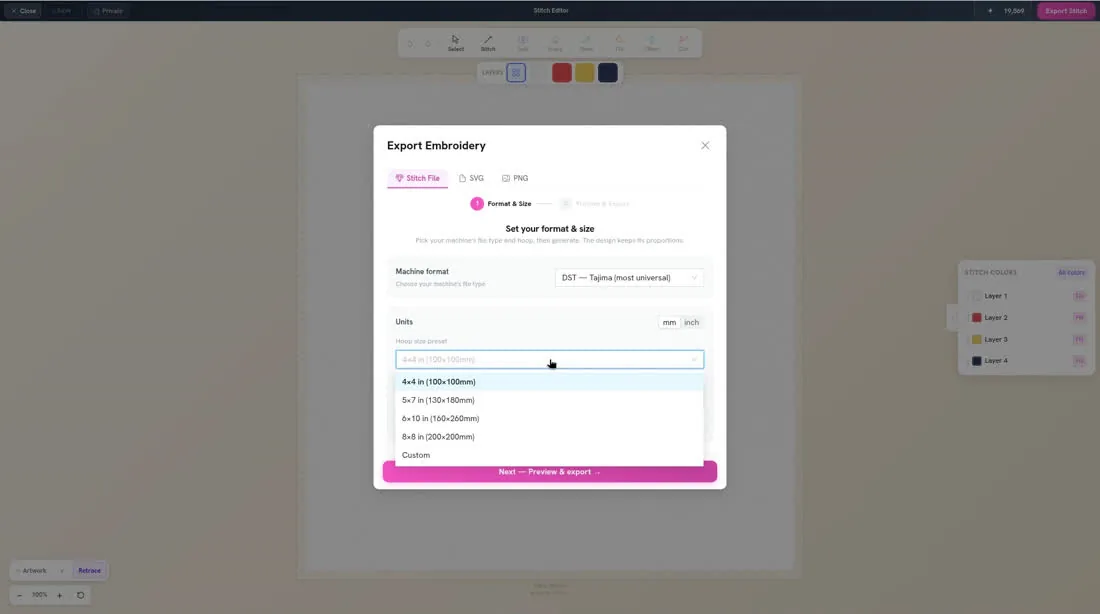
On the Stitch File tab, step 1 is Format & Size. Under Hoop size preset, the choices are 4×4 in (100×100mm), 5×7 in (130×180mm), 6×10 in (160×260mm), 8×8 in (200×200mm), and Custom. You can set Units to mm or inch.
To pick your hoop
- 1
Click Export Stitch. The Export Embroidery dialog opens on Format & Size.
- 2
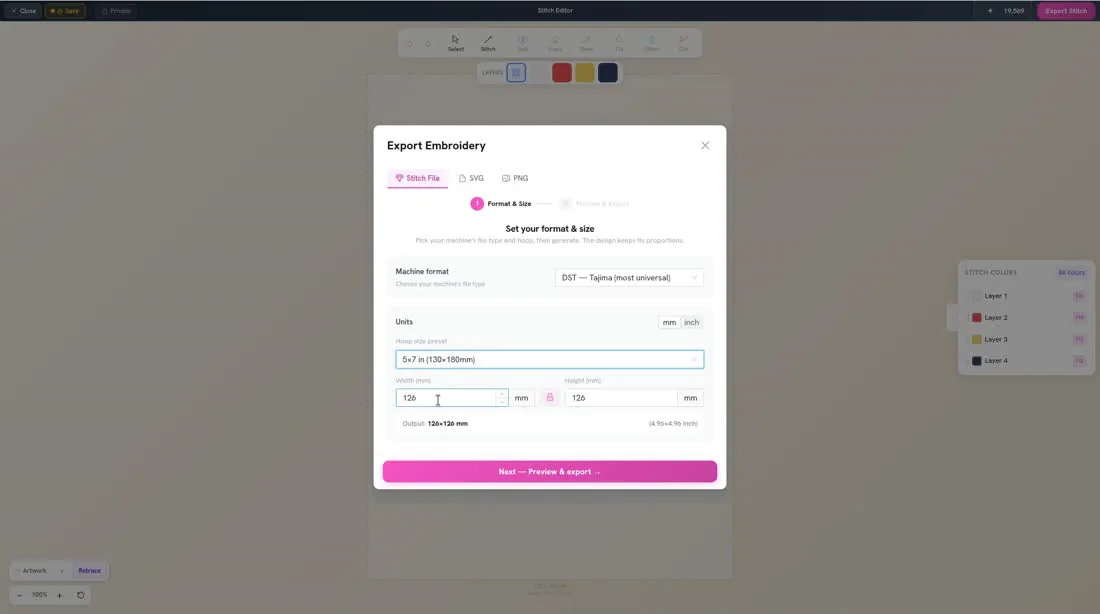
Click Hoop size preset and choose a size that matches your machine, or click Custom and enter a size.
- 3
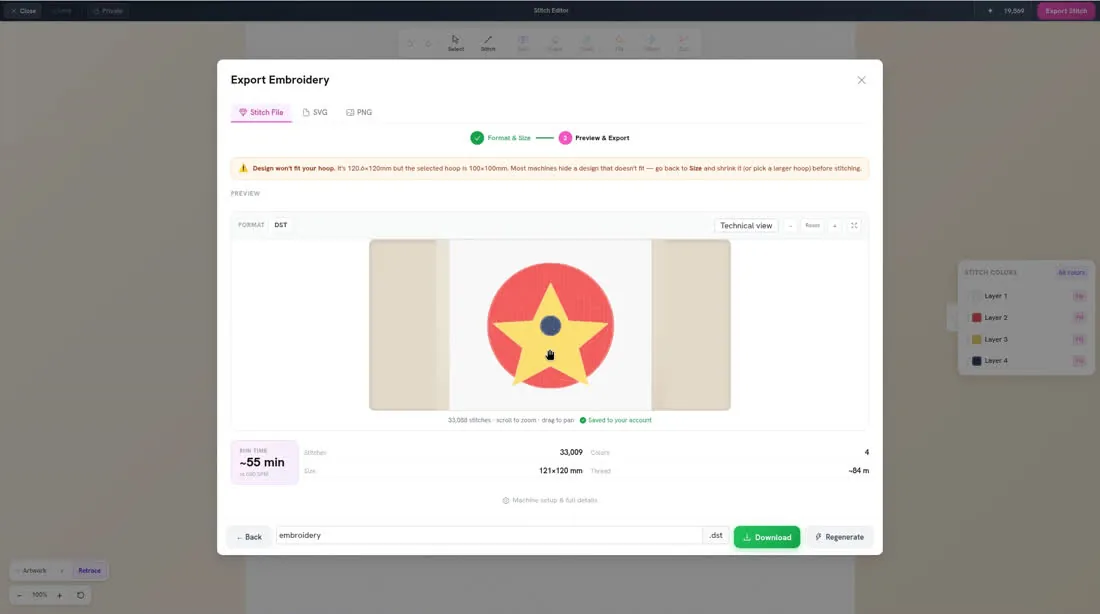
Click Next — Preview & export →. If you see Design won't fit your hoop., go back, choose a larger hoop or make the design smaller, then check again.