Chapters
- 1What is EmbroideryTrace?
- 2Create an account
- 3Sign in
- 4Upload your image
- 5Separate colours
- 6Use Trace
- 7Meet the Stitch Editor
- 8Choose a stitch type
- 9Set satin
- 10Edit shapes
- 11Save and reopen your design
- 12Pick your hoop
- 13Preview your design
- 14Export and stitch on your machine
- 15Free Plan and Pro
- 16Credits
- 17If something looks wrong
- 18FAQ
- 19Get help
Most problems are easier to fix with a simpler picture or a quick undo. Start with a logo or flat artwork, and crop away any background you do not want sewn.
Trace accepts JPEG, PNG, and WebP only. If your file is an SVG, use Upload in the sidebar on a computer or the Image to Embroidery card on Home. After you upload or run Trace, click each row in Stitch Colors and check the stitches.
To fix a design
- 1
Click Undo if your last change was not what you wanted.
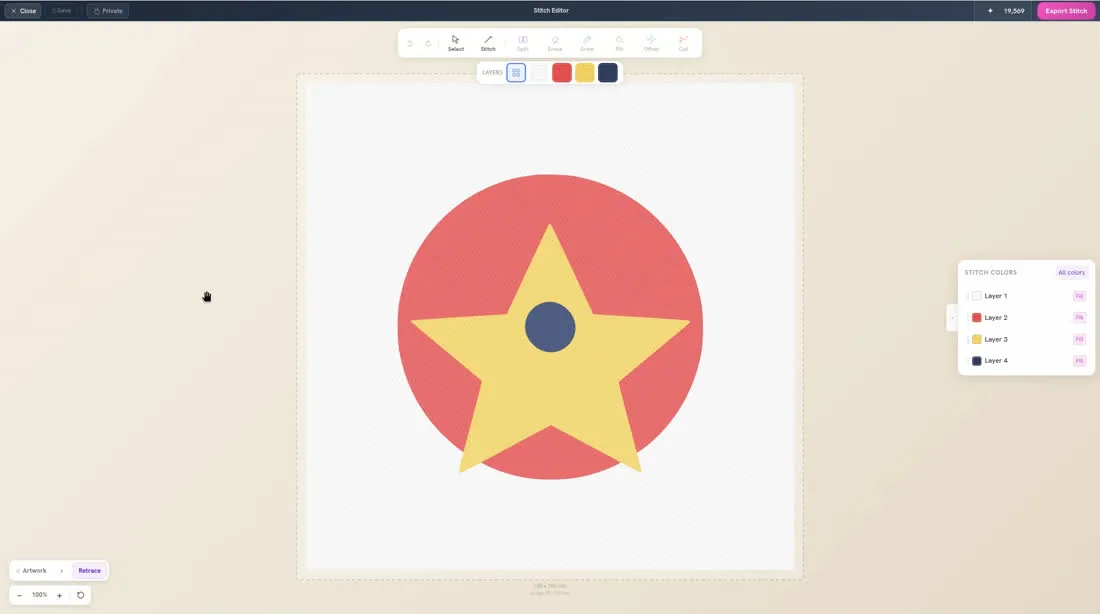
- 2
Review each colour in Stitch Colors, and change the stitch type or edit the shape if needed.
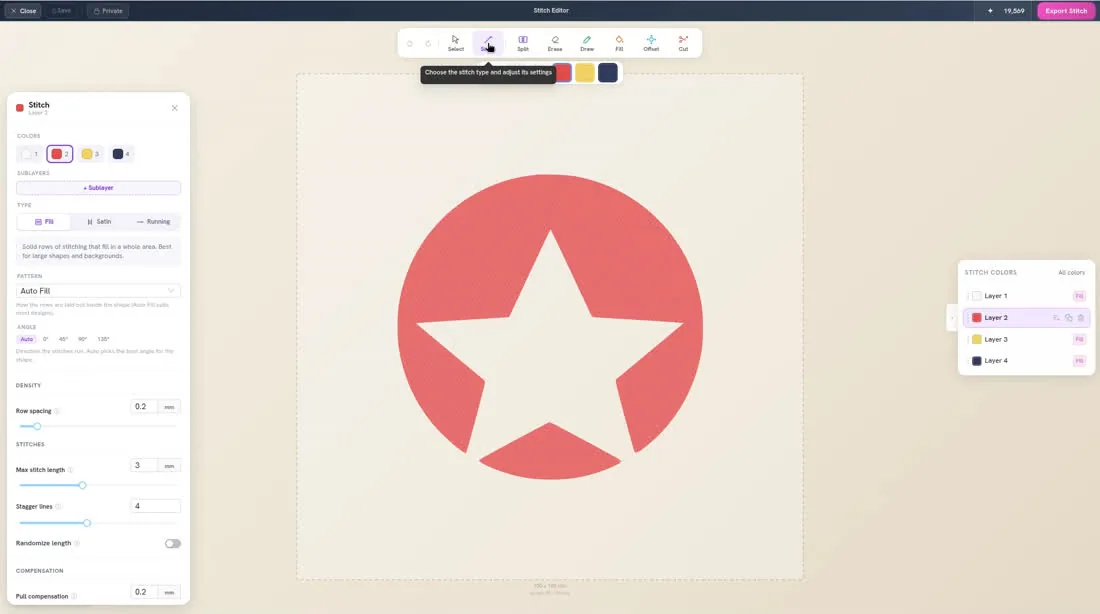
- 3
If the picture itself is the problem, upload a simpler version and try again. Each new upload is analysed again, and that uses credits.
If you are still stuck, see Get help.